
Women's Apron Tutorial


This is a nice apron because all of the seams are finished inside, giving it a very finished off look.
Let's get started!
First thing you will need to do is draft a pattern. Don't feel overwhelmed, it is not as hard as it sounds. I simply drew mine on a piece of newspaper and cut it out.

It is a pretty simple pattern. I have drawn a little sketch to show you the sizes of it (don't mind my neatness, or lack there of). The apron in the tutorial is for an adult, but to make it for a kid, I would just shrink it about an inch on each side.

So as you can see, you'll pretty much begin with a rectangle, and add the curves from there.
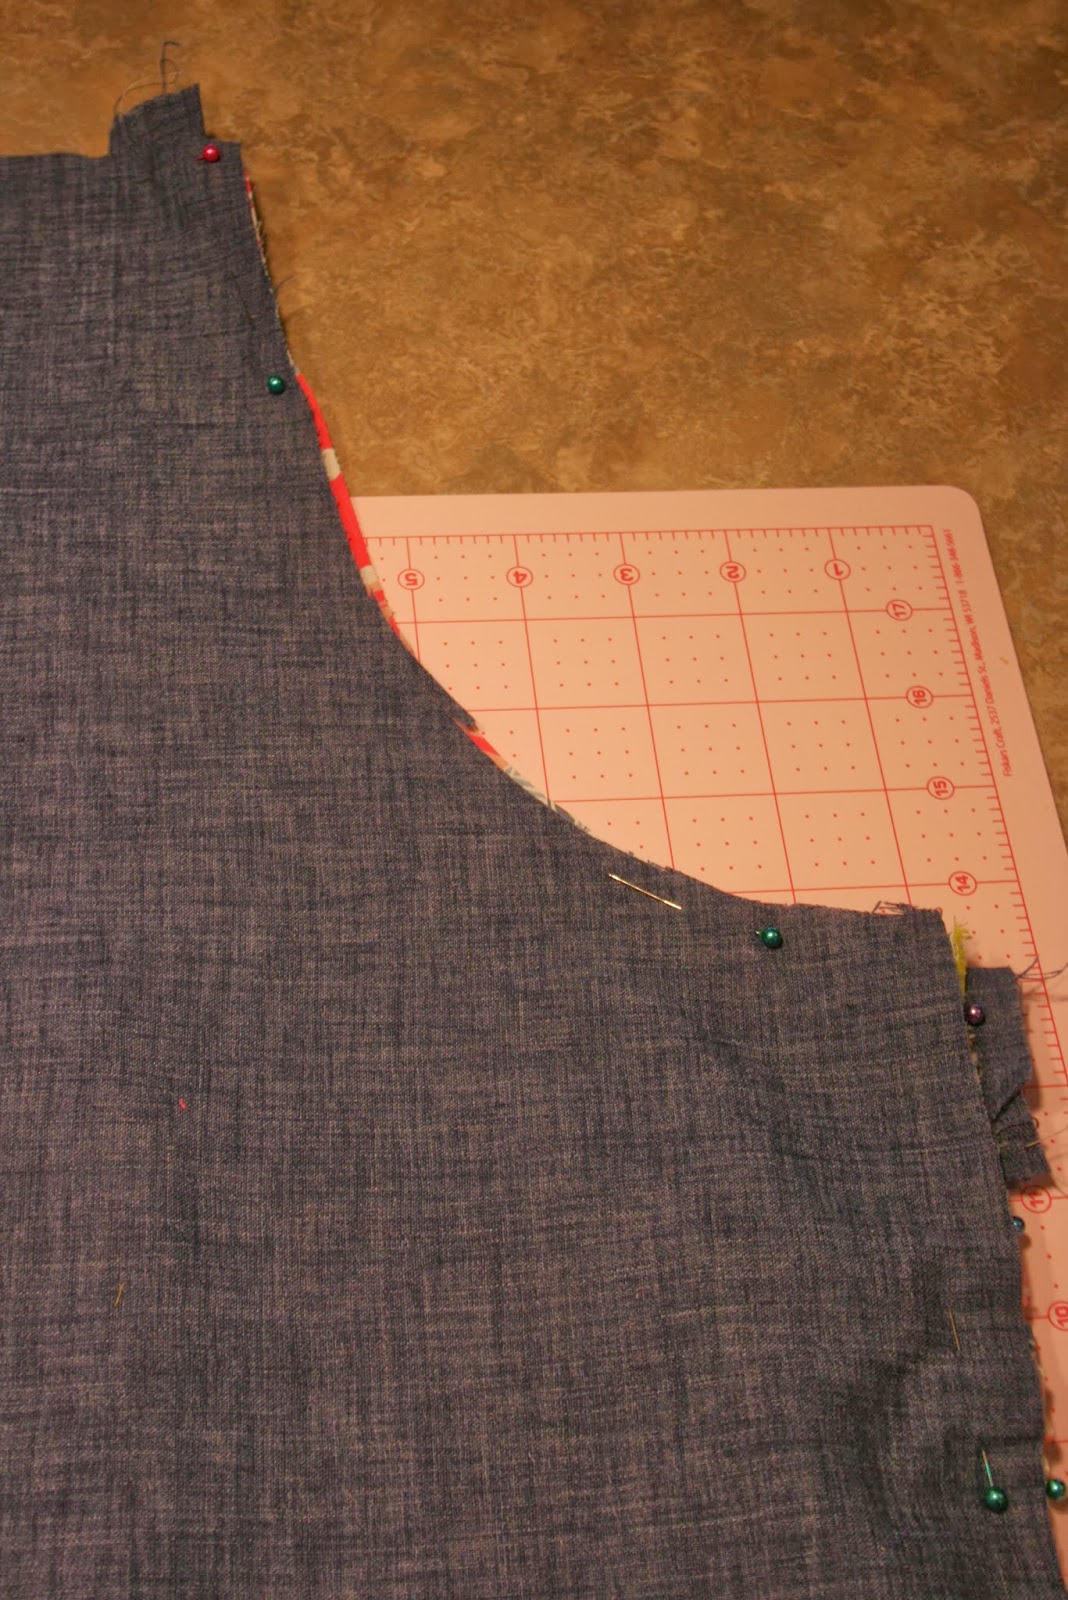
Once you get that pattern all cut out, you'll be ready to cut your pieces out. You will need to cut 2 of the body pieces(front and back). It is very important to be sure and fold your fabric, and line it up, as the pattern shows.

You will also need:
Neckties - 2 strips - 3" x 28"
Waistband - 2 strips - 4.5" x (40-60") (you can make the length of the waistband longer or shorter depending on if you want to tie it in the back or bring it back around and tie it in front. Mine were 44".)

Ruffle - 5" x 80"
Pocket - A rectangle piece however big you want the pocket. I like to put a different pocket on all my aprons. I feel it adds a little personality.
Here are two examples:


Both started as rectangles about 6"x 9".
Now That you have it all cut out, lets begin the construction. Get your iron hot!
First You will want to press your neckties, and waistbands in half, right sides together.

Also, press your ruffle strip in half, wrong sides together.

Finally, Press the edges of your pocket (whatever shape you choose). You will just want to fold in the edges about a 1/4". As you saw earlier, I also like to press my bottom corners in too.
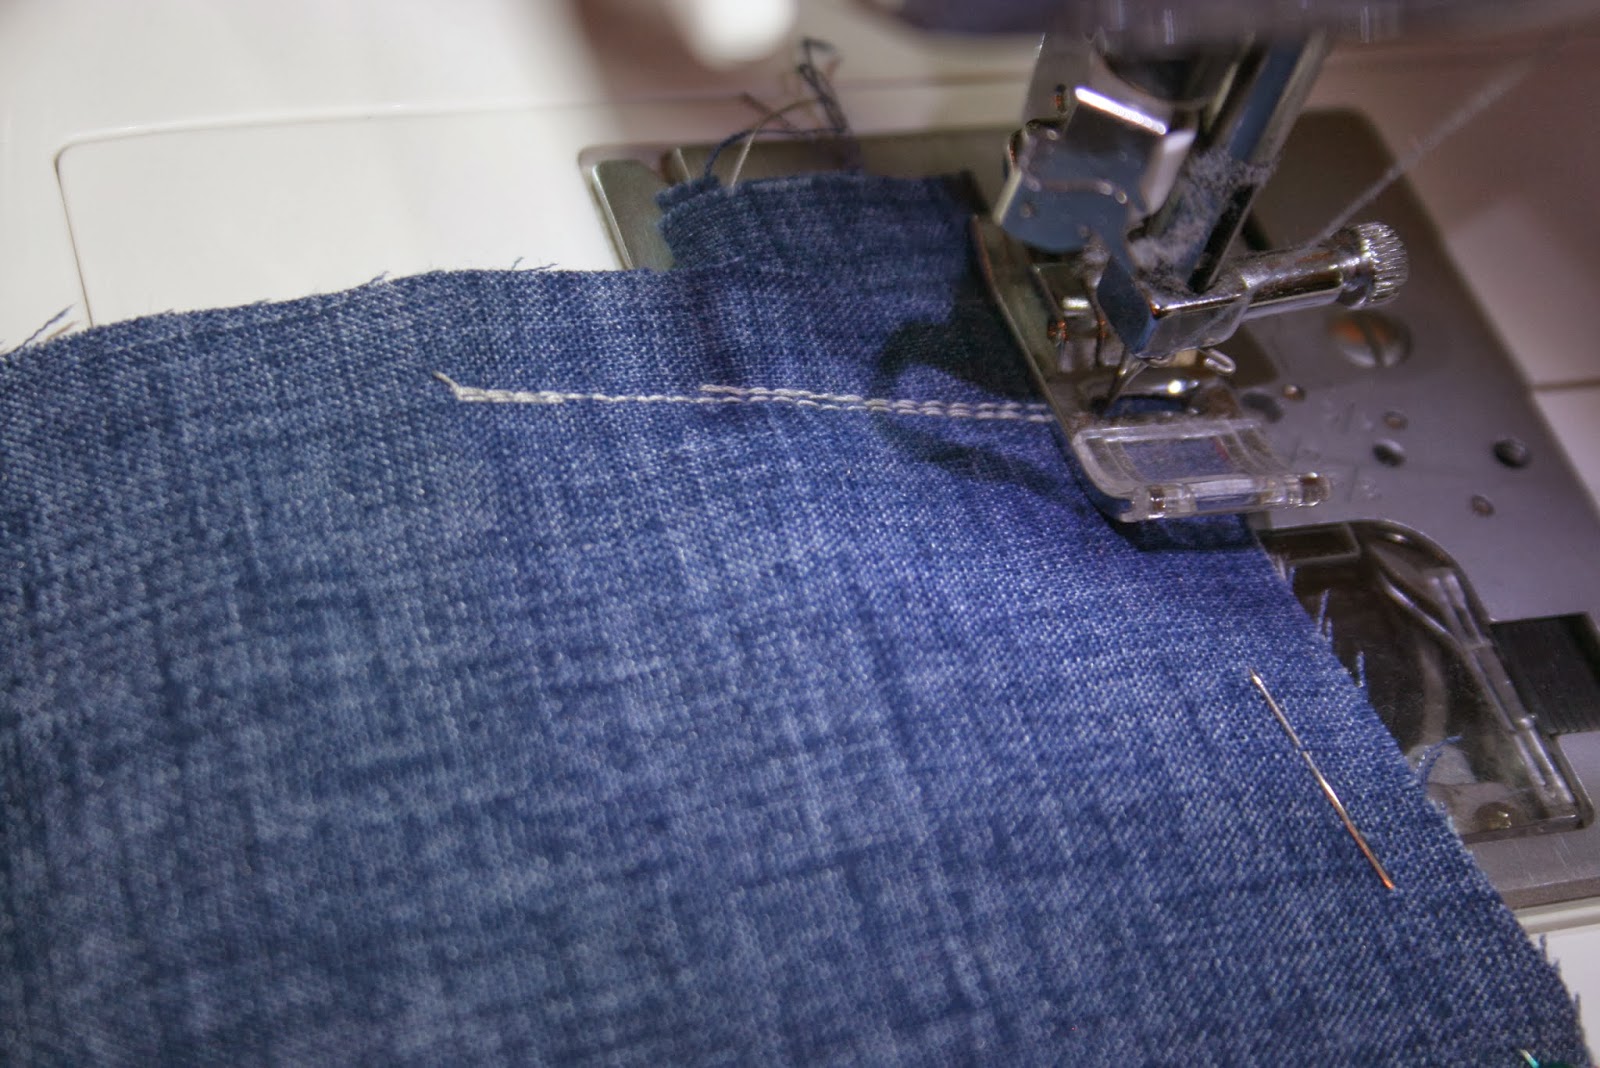
Now, off to the machine.
First, Sew along the top only of the pocket. You only need to finish off the top, since the others will be finished when you attach it to the apron. Which you will want to do now. Decide where you want it placed, and sew it to the front panel only. I always pin it in place first, to make sure it is straight, and stays that way as I sew.

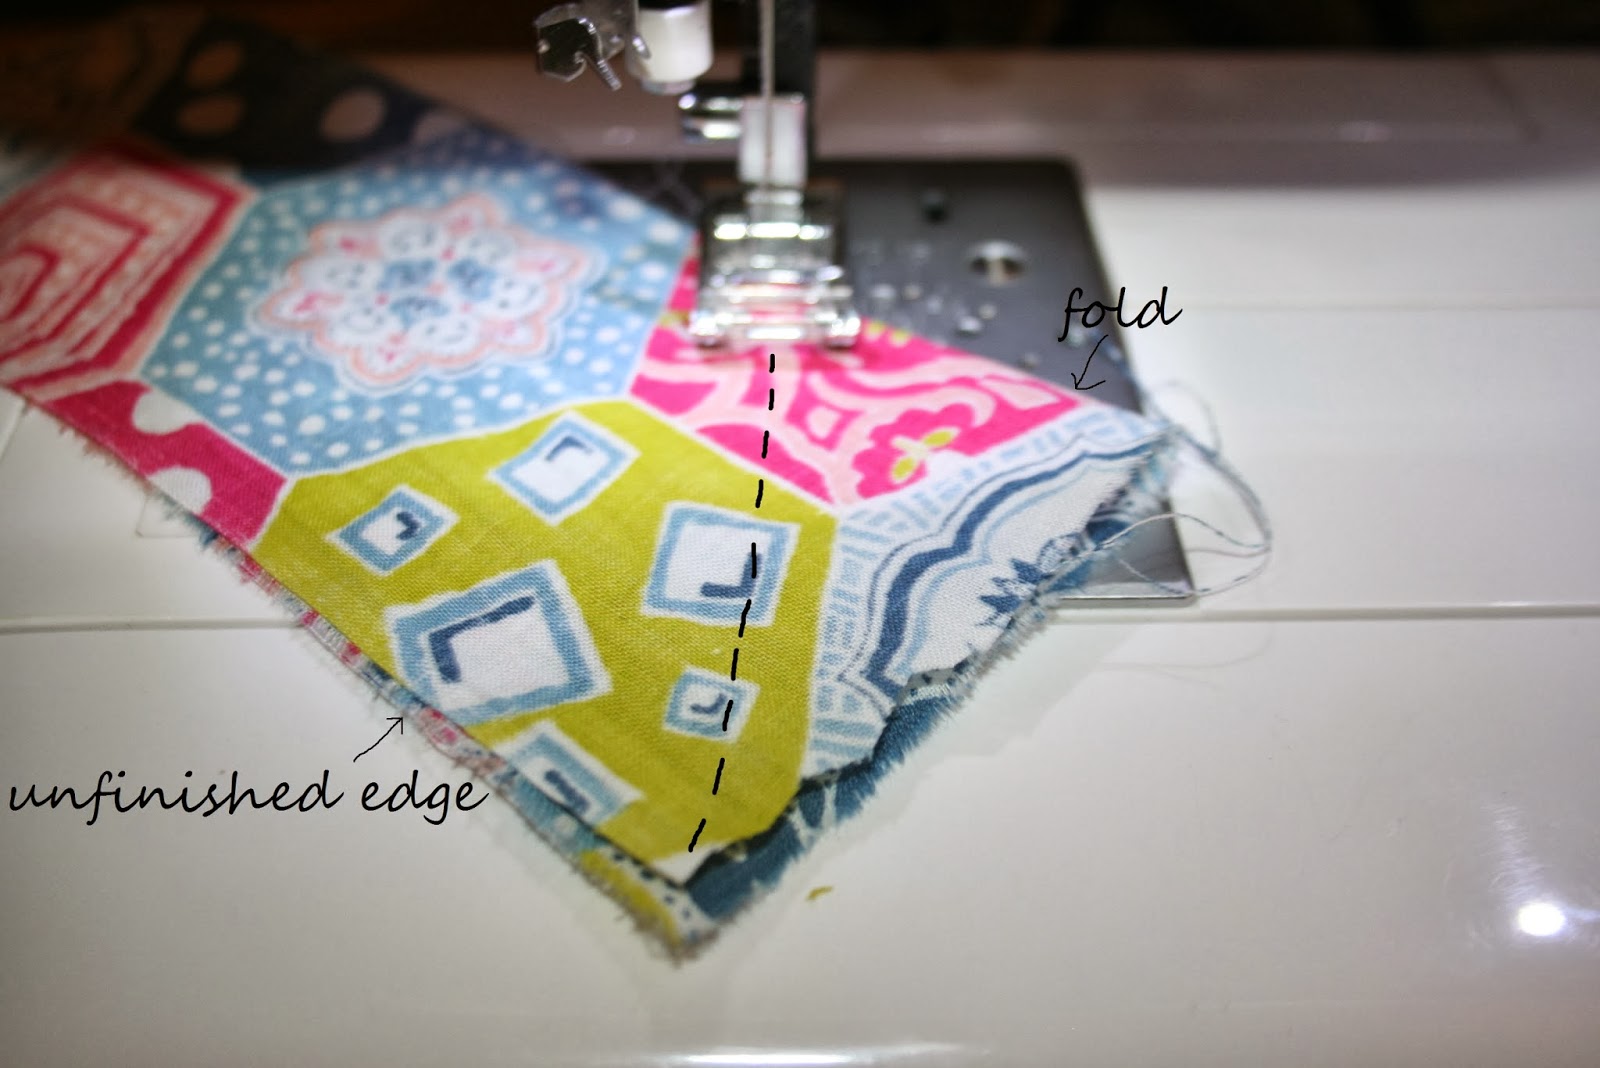
Onto the straps. I like them to have a slant on the end. You achieve this by first sewing from the bottom corner (on the fold) diagonal to unfinished edge, stopping 1/4" before.

Turn, and continue on down the unfinished edge.

Do this with all four.
Cut the corners off and set aside.

Now, for the ruffle. I know I told you to press the ruffle with wrong sides together, but in order to have a finished end, we must get a little tricky here.
Taking one of the ends, you will want to fold it right sides together (on the end only) and sew a diagonal opposite of what we did on the straps.

Cut your corner off.

Fold it back to wrong sides together, and your ends will be finished.

Next, sew a basting stitch all the way along the raw edges of the ruffle.


Find the middle of the ruffle, and pin it, raw edges together to the bottom center of the apron top. Gather the ruffle piece however much you need, so it reaches to corners on both sides. The folded edge should be towards the middle of the apron.

Continue to pin the ruffle along the outer edge. I have found it easiest to leave my needles sticking out like the picture below. this makes it quicker in the long run.

Don't be afraid to use a lot of pins. It will make it much easier when you are sewing around the outside.

Now, onto the straps. First, we must turn them right sides out.


And press!

Now, we will lay it all together. Let's start with the neck straps. Note that you will not want to put it right against the edge of the piece. We will have to sew along there in the future. So leave about 1/2". Lay both sides in place.

Take the waistband and put it between the ruffle, and the apron top. Keeping in mind that we will also need room to sew on top of the band, without catching it.

Pin the ruffle back in place.

All of your straps must be inside the body of the apron. Make them lay as flat as you can, and pin them down in a couple of places to be sure they do not slip around. We do not want them to move around, and get caught when we sew!

It should now look something like this!

Finally, Take your backing piece and pin it on top. Right sides should be together.

Sew around the apron, using a 1/2" seam. We do a bigger inseam to be sure you are catching the whole ruffle, and hopefully hiding your basting stitch.
Do not sew the top between the straps. This is where we will turn it right side out.

I think it's important to reinforce straps at this point. I like to back over them and then forward again. This will make nice sturdy straps. We put time into our stuff, we want it to last right?!
When sewing along the straps, use your fingers to be sure you are not catching them with your seam. We do not want these to be sewn down!!

Follow the outside all the way around, pulling pins as you go.

The top should look like this.

Now turn it right side out.

All we have to do now, is close the top.

Fold, and press the edges in. I also give the apron a light press at this time.

Sew along the top.

Ta-Da!
You are done!

I hope you're happy with how your apron turned out! Please share a picture with me!!
~Corrie
I had so much fun looking through your tutorial (I'm a sucker for aprons!) Thank you for such great directions! Have you ever read The Apron Book? It is a fun, more immediate history of aprons and comes with a pattern: http://www.amazon.com/Apron-Book-Wearing-Sharing-Comfort/dp/0740761811/ref=sr_1_1?ie=UTF8&qid=1426023325&sr=8-1&keywords=the+apron+book Thought I would share in case you would like it too!
ReplyDelete