

Welcome to another quilt tutorial.
This is part 2 of my boys quilts.
With this second quilt, I started once again with 60 - 9.5" squares.

As in the last quilt, I used the grey chevron fabric as my main color, so I had 30 of those. Three other fabrics 10 of each.
I thought it would be cool to have a square with a little and a big square opposite of each other.
.JPG)
Start by taking your 9.5" squares and cutting a 3" strip on one side.

Then without moving your pieces, cut a 3" strip along the top.


You will end up with four pieces like this.

Do whatever order you like, but I like to get all my cutting done at once, then go sit at the machine.

Working with the first strip on the side, and the little square, take and match them up. If you're using a main color like I did, your main color in each block will either be your squares or your rectangles.


Feed them on through!


One after the other.
If you're new to quilting, you may not realize that you can easily feed them all through without cutting your thread, or lifting your presser foot. Try it, it speeds you up a bit!


Now, do the same thing with the large square, and top strip.

Once all of those are done, you'll want to press your seams, and you should have pieces that look something like this.

Now, pair them up and complete your squares.

From here, you get to lay it out and decide what you want it to look like finished. This is the look I decided to go with.
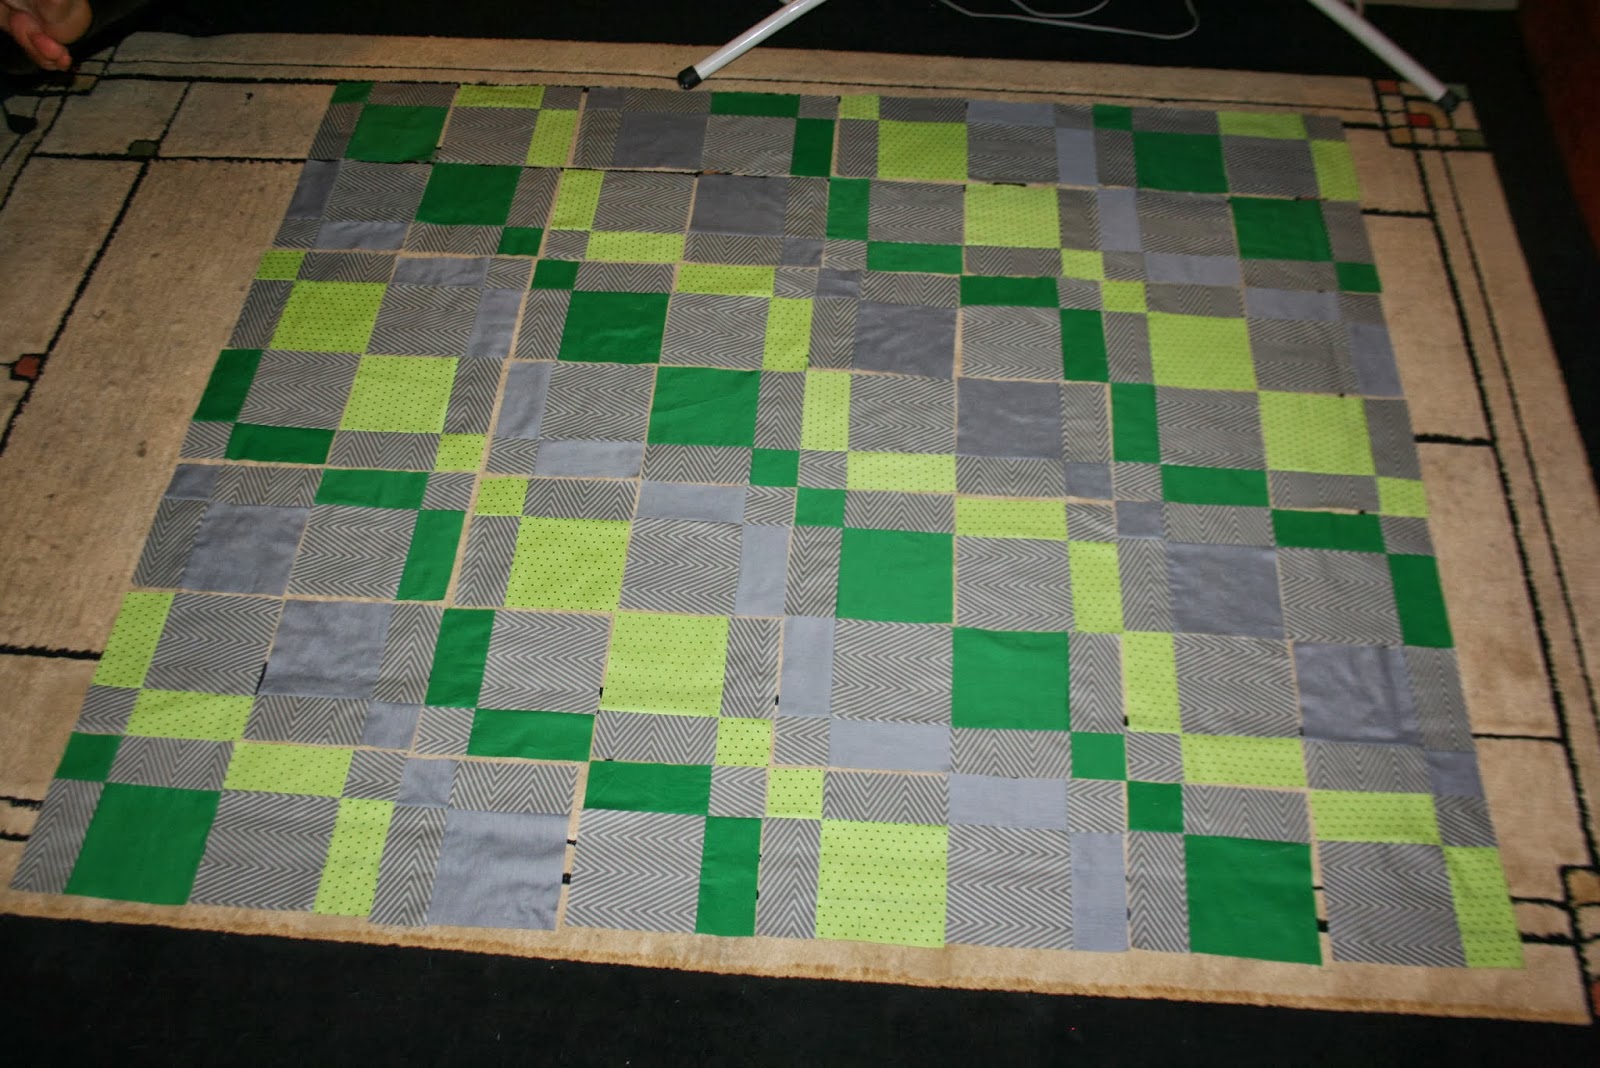
I wanted the pattern to move through the quilt so it would be similar to my last quilt. Again, they share a room, so I wanted them to slightly match, but have a different look for each blanket.

Now to finish them off!
Good luck, Enjoy!
~Corrie
No comments:
Post a Comment
I look forward to hearing from you, and try to get back to everyone. Please remember that if you are a "No Reply Blogger" I cannot respond to your comment. Thanks for stopping by.